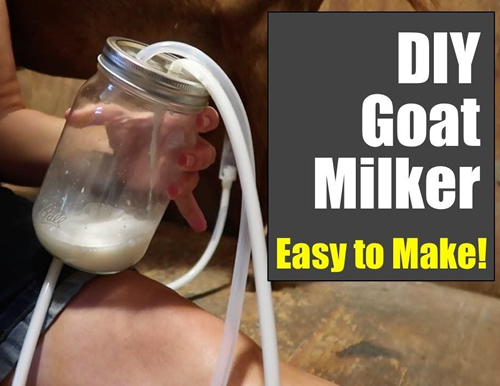
Oh yes! Bring out the mason jars, we will be using them for yet another awesome project today. I think the last one we did was the diy mason jar tooth brush holder or perhaps it was the diy mason jar tiki torches? Anywho, today we will be using them to make this diy mason jar goat milker.
Of all the goat milking tips, that anyone has ever been shared with me this has got the best one. Sometimes, I would get really frustrated when milking the goats. I am no amateur when it comes to goat milking either, but this has definitely been a lifesaver. You can easily customize it, for use with any breed. Total project cost is about $30. The milking stand is still required though, so make sure you have one. LOL
-------------------------------------------------------------------
Here’s What You’ll Need:
- brake bleeder
- wide mouth mason jar
- 20cc syringe
- food grade silicone tubing
- tape measure
- utility knife
- epoxy or clips (optional)
Step By Step Instructions
Step 1.
Prepare your syringe, by removing the plunger
and drilling out the inner small tube. Use a long
drill bit that allows you to drill from inside.
Step 2.
Drill two holes in the lid of the jar. For this
use a drill bit slightly smaller in diameter to
the outside of your silicone tubing.
Step 3.
Measure and cut 4 1/2 feet for the syringe line tubing.
Make the bleeder line tubing 3 1/2 feet long.
Step 4.
Fold and squeeze the tubing through the holes you made
in the lid. Pull it through the lid about 1 1/2 inches or so.
Step 5.
Slide the ring of the jar over the lid and this
should allow you to be able to screw the lid on.
Step 6.
Attach the other end of the shorter tube to your
bleeder and the longer one to the syringe.
Step 7.
Make sure that all your connections are airtight, you
can use an epoxy or clips to secure the tubes.
Step 8.
Test your milker, put your thumb over the syringe
and pump the bleeder. It should be able maintain
pressure of at least 10 Psi.
You want to use jars with metal lids as they are able to provide a tighter seal, ensuring that there is sufficient suction. Also the size of your goat will determine the size of your syringe, the goat’s teat should comfortably fit inside the open end of the syringe.
The ideal pressure on the bleeder should be in the range between 10 to 12 Psi. Don’t go over that or you risk hurting your goat. It is not really recommended that you use this apparatus on a long term continuous basis. It’s perfect for milk training your goats, until they get used to being milked.
How To Use? Secure the goat onto your milking stand. Clean the teats and udder before you begin milking. Simply insert the goats teat into the syringe. Then hold in place whilst you pump the bleeder to the recommended pressure. Massage the udder, whilst maintaining the pressure. The milk should start trickling down into your jar. Switch to the other teat, when the udder is empty.
You can watch the video below on DIY Mason Jar Goat Milker. Under $30!…
You can watch the video below on DIY Goat Milking Machine – Never milk by hand again!
You can watch the video below on How to Use a Mason Jar Goat Milker…