
Render is a type of cladding that is added to external walls for a range of reasons. There are various types of render than can be used on a property, from cement render to lime render. Once applied, further steps can be taken to improve the render – one of which is painting.
Why Paint Rendered Walls?
Rendered walls are usually an appearance upgrade from the original façade of the property. Painting render will provide an even better upgrade, making the newly rendered wall and house exterior walls look even better than with just the render on them.
Additionally, painting rendered walls can help to add another layer of protection from moisture and from the external elements. In some cases it can even enhance the building’s energy efficiency by very small amounts.
-------------------------------------------------------------------
Can Rendered Walls Be Painted?
In short, yes. Rendered walls are often painted in order to liven the appearance of a house up. But the paint job has to be done correctly in order for it to work – otherwise the job will not be even or smooth, and can look completely off.
In order to paint render, preparation work must be done before you start painting. This preparation is an important step and cannot be missed. In addition to the prep work, the render must have been set and cured for 4 to 6 weeks prior to painting. Painting a rendered wall too early can make the paint bubble and crack and it will need repairing, and can cause similar effects to the render itself.
Those looking to paint cement render or any other kind of rendered surfaces will also need to ensure that they have the right paint, too. Failing to use the correct paint can make the painted render look shabby and unprofessional.
What Paint Can Be Used On Exterior Rendered Walls?
In order for the paint to properly adhere, painters will need to use a paint product designed for exterior use. The paint should be suitable for outdoor surfaces but also highly breathable. A highly breathable masonry paint is the best paint for rendered walls and will most likely need sealing. Typically, a low sheen or matt finish is chosen to provide the house with the best possible appearance.
Some of the best paint options for rendered surfaces include:
- Dulux Weathershield
- British Paints 4 Seasons
- Taubmans Endure Exterior Walls
What Other Tools Are Needed To Paint An Exterior Wall?
In addition to the right paint, you will need to gather the following prior to painting render:
- Drop sheets or dust sheets to protect the ground from paint splatter
- Masking tape
- Large angled paint brush
- Standard masonry brush
- Rollers (a roller pole and a long pile roller)
- Paint tray
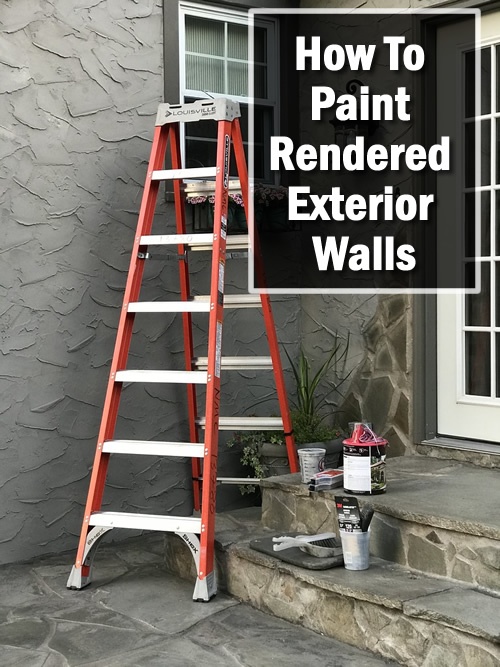
- Ladder
- Paint mixer
How To Paint Rendered Outside Walls
- Prepare the wall and the surrounding areas
The first step in painting a rendered wall is to prepare the exterior walls, masonry paint and surrounding areas. You can do so by using an acrylic gap sealer around windows and doors, covering them with dust sheets and masking tape in order to protect them from paint splatters. You should also lay drop sheets or drop sheets on the ground.
Once the surrounding areas are protected, go in with a stiff brush to clean the wall. The entire wall will need to be scrubbed, especially if it has been previously painted. Flaking paint, dirt and debris should be scrubbed and brushed away to ensure that the entire surface is completely smooth ready for exterior paint. You need to ensure that there is no green growth on your wall, no mildew, no loose render or anything that could damage the finish of the paint jobs. Old paint in particular can cause issues. If need be when cleaning the wall you can use a hose pipe, just ensure that the wall is completely dry prior to painting.
Check your masonry paint at this point and see whether or not it requires you to paint a primer onto the wall. Most paints do not. If you do need to apply primer, do so in this stage and then leave to dry before painting. - Mix the masonry paint and prepare the paint tray
Before you can start painting, you need to mix your masonry paint with a flat wooden paint mixer in the paint can. Once sufficiently mixed, pour the masonry paint into the paint tray carefully, ensuring to to overfill the tray. - Paint the edges of the rendered wall
This process is called ‘cutting in’ and involves using an angled paint brush to paint the edges of the rendered wall in long strokes. Doing so makes the rest of the painting render easier and allows you to paint around things like windows with precision. - Paint the rest of the rendered exterior walls
You can now start painting! Using a paint roller – and for the higher parts of the wall, a paint roller pole – paint the entire wall using an M pattern. The masonry paint should go on evenly, and you want to make a smooth, even coat with complete coverage. Once you have achieved said even coverage, you can stop and leave the first coat to dry completely.
For those with a rough surface like pebbledash, you should use a standard masonry paint brush rather than a roller. Paint brushes will allow you to paint pebbledash more effectively.
After around 2 hours, the base coat should be dry. - Continue to paint
You should then continue to paint until the masonry paint dries into the desired colour. After each layer, be sure to stop and let the coat dry in order to properly evaluate the depth of the colour.