It always amazes me how many different designs are available for greenhouses. Do not get me wrong, I am not complaining just amazed. In this post we will be looking at the latest design I have discovered, the diy portable rain barrel greenhouse.
The main component of course is the rain barrel, and it is recommended you choose a while one. I would choose an old rain water collection one, that may have started to leak or has been punctured. These barrels are available for sale too, from most local hardware stores. The build time for this mini greenhouse is about 60 minutes.
-------------------------------------------------------------------
Here’s What You’ll Need
- 55 gallon white rain barrel
- Transparent or semi transparent plastic sheet
- 4 screw with 4 nuts
- 4 1″ X 1″ plywood blocks
- bicycle inner-tube
- Duck tape
- Jigsaw
- Hand drill
- Knife
- Potting Soil
- Seedlings/Seeds
- Marker
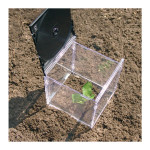
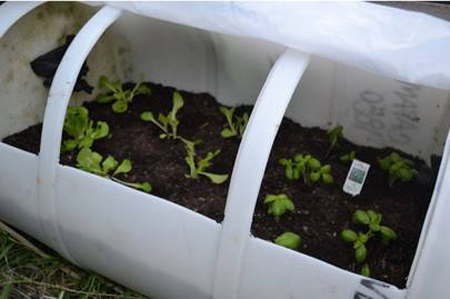
On the under side of the barrel mark a section that is one quarter of the diameter. This is the section that you will have to remove on the top part of the barrel. Cut out three sections, leaving only the rings that hold the barrel together in place. Attach the plastic sheet to the top using the screws, nuts, plywood and pieces of the inner tube.
Weigh down the bottom end of the plastic sheet with small plywood plank the same length as the barrel. Add some potting soil to the bottom and any other fertilizers you may want to use. Plant your seedlings or your seeds in your new portable mini greenhouse. Just make sure to keep it in a spot that has access to direct sunlight. Perfect for starting your seeds or small vegetables such as basil, parsley, salad and cilantro.
You can follow the step by step photos on the Gardening World blog, here…
DIY Portable Barrel Greenhouse Plans
.